Step 41
![]()
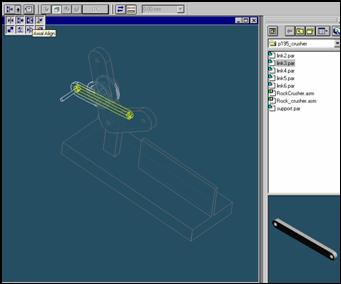
On the Place Part SmartStep ribbon bar, in the relation type list,
click the relationship Types list, click the Axial Align button.
Step 42
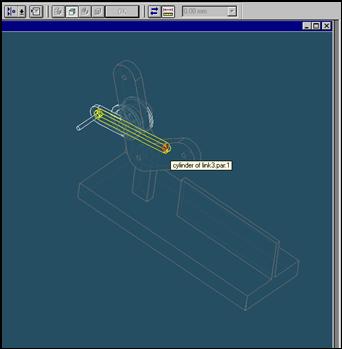
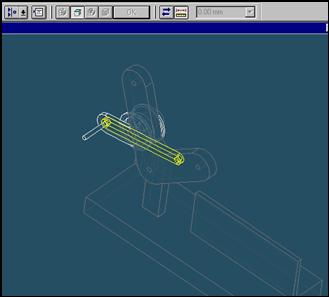
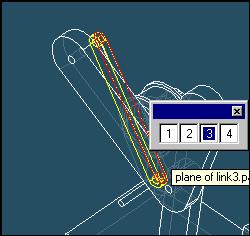
Select the Axis to Align
In the Place part window, select the hole which is at the end of link3 part.
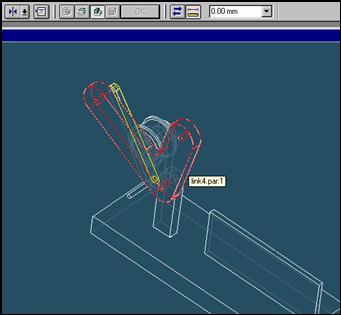
Step 43
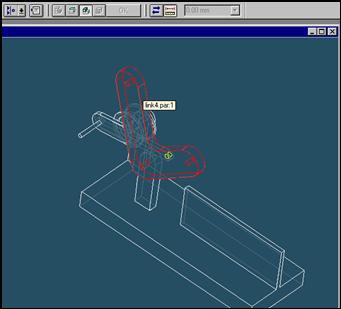
In the assembly window, select the link4 part.
Step 44
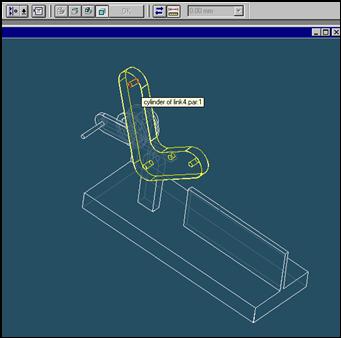
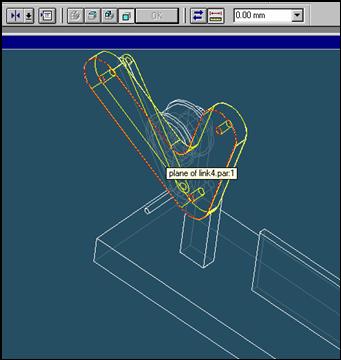
Select the aligning axis on the link2 part
In the Assembly window, select the hole of the link4 part.
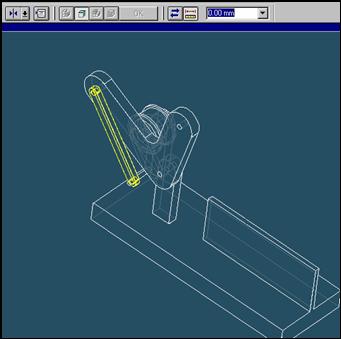
Step 45
![]()
![]()
On the Place SmartStep ribbon bar, click OK
Step 46
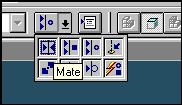
![]() On
the Place Part SmartStep ribbon bar, in the Relationship
On
the Place Part SmartStep ribbon bar, in the Relationship
Type list, click the Mate button.
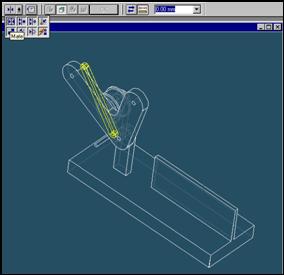
Step 47
Click on the left face of link3.
Step 48
Select the link4 part to mate in the assembly
In the assembly window, select the link4.
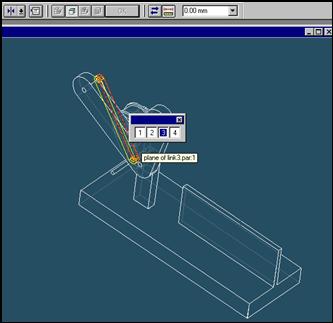
Step 49
Selecting the mating face of the link4 part
Use QuickPick to select the right face of link4 part, as shown in the illustration.
Step 50
![]()
![]() On
the Place Part SmartStep ribbon bar, click OK
On
the Place Part SmartStep ribbon bar, click OK
| Previous | Next |