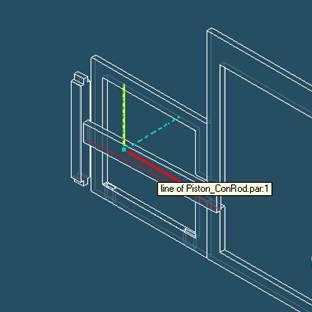
Step 51
Select Part Axis along which it is to be translated
Select the X axis of the Piston_ConRod (as shown above).
Step 52
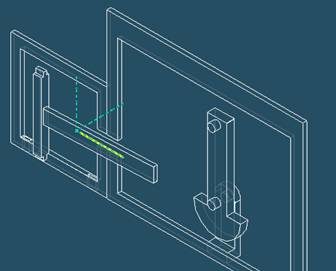
Click on the Axis & drag the mouse till the two Piston rod's in a position shown above
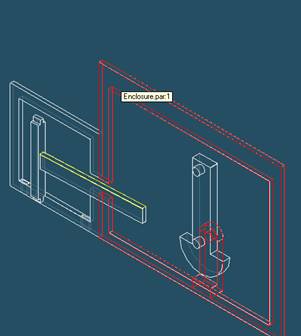
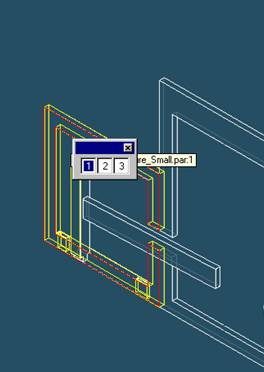
Step 53


![]()
![]()
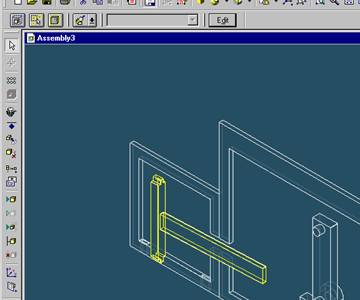
Continue the mating process
Click on the mouse pointer button & then on the Piston_ConRod. A toolbar will appear at the top.
Click on the Edit button to bring back the smart-step ribbon bar.
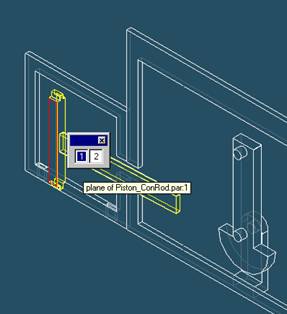
Step 54
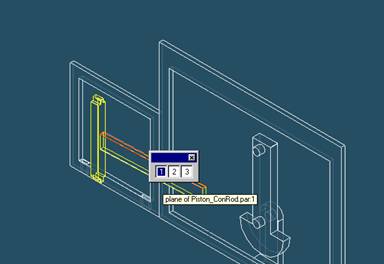
Again Select the Plane to Mate
To mate the top face of the Piston_ConRod with the main enclosure, select mate from the smart-step ribbon bar.
Select the top face of the Piston_ConRod.
Step 55
Select the part to which the Piston_ConRod will be mated
In the assembly window, select the Main Enclosure part.
Step 56
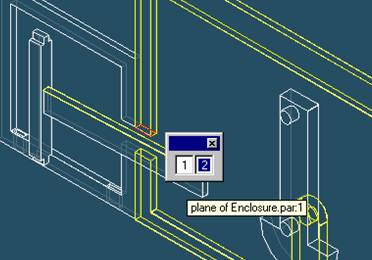
Select the Mating Face on the Main Enclosure part
In the Assembly window, select the upper face of the slot on the Main Enclosure (as shown).
Step 57
Finishing mating the two parts
![]()
On the Place SmartStep ribbon bar, click OK
Step 58
Again Select the Plane to Align
Select Planar Align from the smart-step ribbon bar.
Select the front face of the Piston (as shown).
Step 59
Select the part to which the face will be aligned
In the assembly window, select the Small Enclosure part.
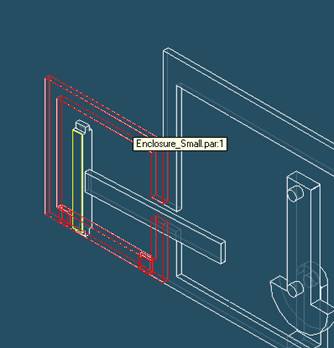
Step 60
Select the Aligning face on the Small Enclosure
In the Assembly window, select the front face of the Small Enclosure (as shown).
Step 61
Finishing aligning the two parts
![]()
On the Place SmartStep ribbon bar, click OK
| Previous | Next |