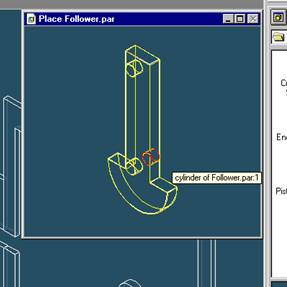
Step 31
Select the Axis to Align
Click on the back cylinder of the follower part.
Step 32
Select the part to which the part will be aligned
In the assembly window, select the Main Enclosure part.
Step 33
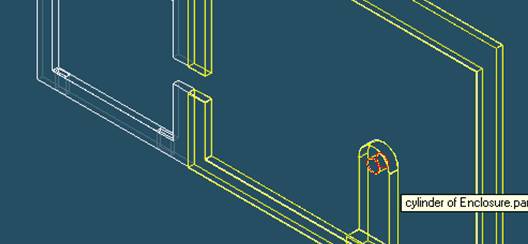
Select the Aligning Face on the Main Enclosure part
In the Assembly window, select the hole on the protruding part of the Main Enclosure.
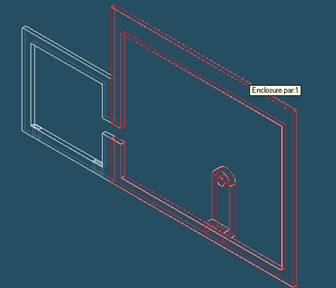
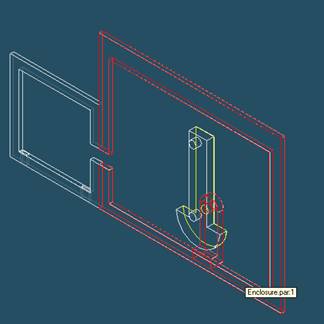
Step 34
Finishing aligning the two Parts
![]()
On the Place SmartStep ribbon bar, click OK
Step 35
Again Select the Plane to Mate
To mate the back face of the follower with the main enclosure, select mate from the smart-step ribbon bar.
Select the back face of the Main enclosure.
Step 36
Select the part to which the follower will be mated
In the assembly window, select the Main Enclosure part.
Step 37
Select the Mating Face on the Main Enclosure part
In the Assembly window, select the front face of the protruding part on the Main Enclosure.
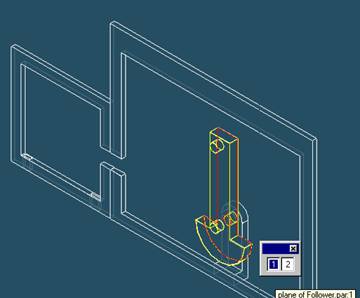
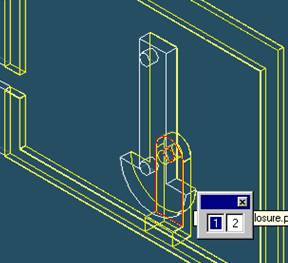
Step 38
Finishing mating the two parts
![]()
On the Place SmartStep ribbon bar, click OK
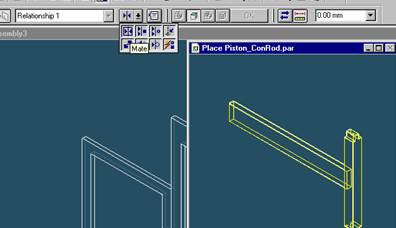
Step 39
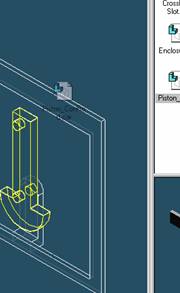
Place the Piston_ConRod part
![]()
On the EdgeBar tool, click the Parts Library tab.
In the file list area on the Parts Library tab, select the file named
Piston_ConRod.par, hold down the left mouse button, drag the file into the
assembly window, and then release the mouse button.
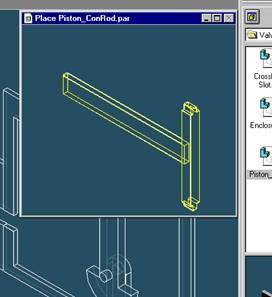
Step 40
Mate the Piston_ConRod with the Small Enclosure
![]() On the Place
Part SmartStep ribbon bar, in the relation type list,
On the Place
Part SmartStep ribbon bar, in the relation type list,
click the Relationship Types list, then click on the Mate button.