Step 41
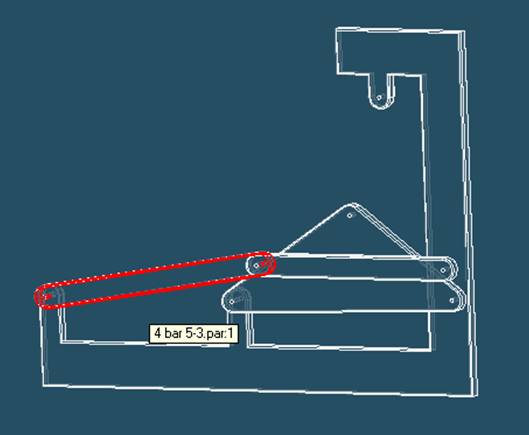
Choose which part to move, 4 bar 5-3
In the assembly window, select 4 bar 5-3.
Step 42
![]()
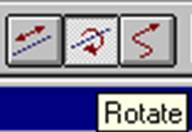
Select type of motion
Select the rotate option for the move toolbar on top of the assembly window.
Step 43
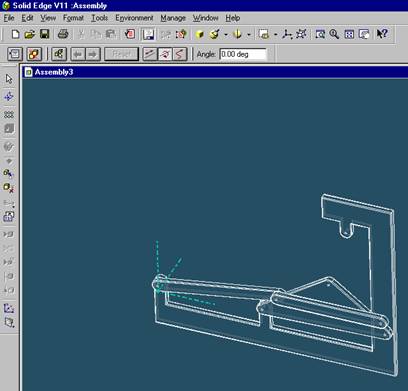
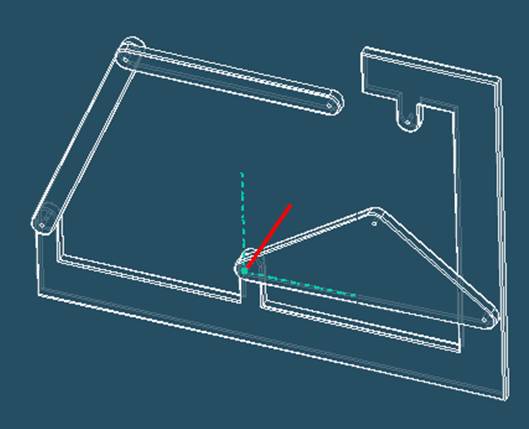
Select the axis of rotation
Select the axis connecting 4 bar 5-3 and 4 bar base
Step 44
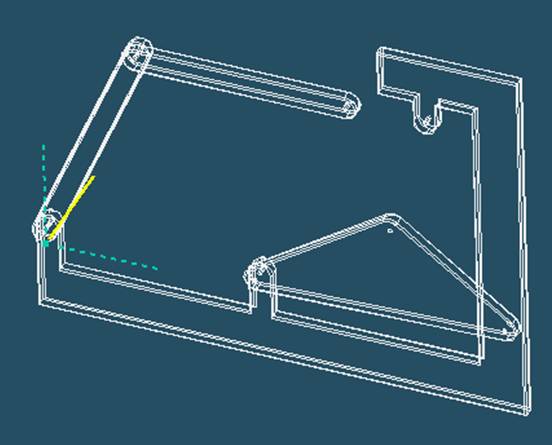
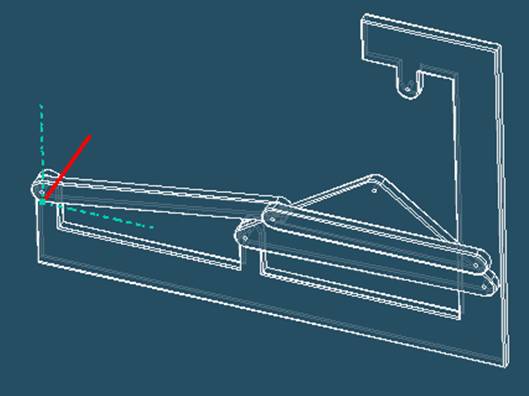
Rotate 4 bar 5-3 counterclockwise
When you see the mouse cursor change into a hand click and hold to rotate the model by hand. When you get close to the image shown stop.
Step 45
![]()

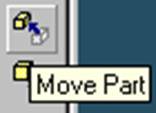
Select the move command
On the toolbar on the right side of the screen select Move Part
Step 46
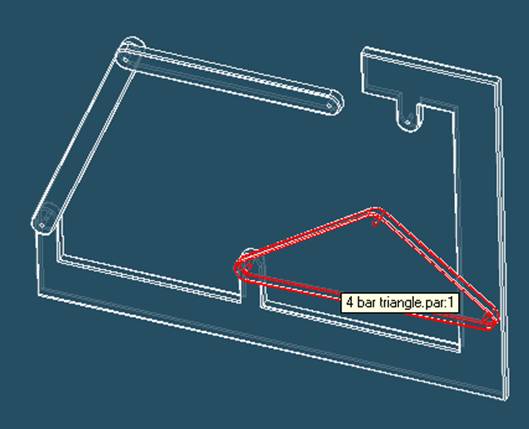
Choose which part to move, 4 bar triangle
In the assembly window, select 4 bar triangle.
Step 47
![]()

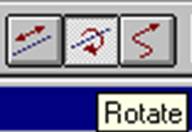
Select type of motion
Select the rotate option for the move toolbar on top of the assembly window.
Step 48
Select the axis of rotation
Select the axis connecting 4 bar triangle and 4 bar base
Step 49
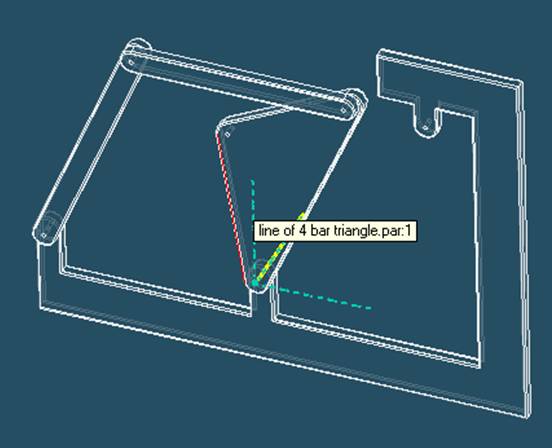
Rotate 4 bar triangle counterclockwise
When you see the mouse cursor change into a hand click and hold to rotate the model by hand. When you get close to the image shown stop.
Step 50
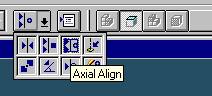
On the Place Part SmartStep ribbon bar, in the relation type list,
click the relationship Types list, click the Axial Align button