Step1
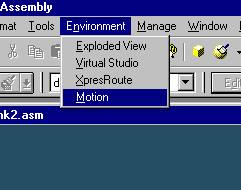
Start DynamicDesigner
Click Motion on the pull-down menu.
Step 2
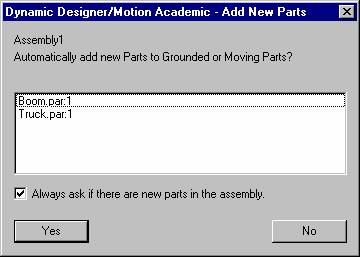
Add New part
Set automatically add new parts to grounded or moving part.
Click on Yes button.
Step 3
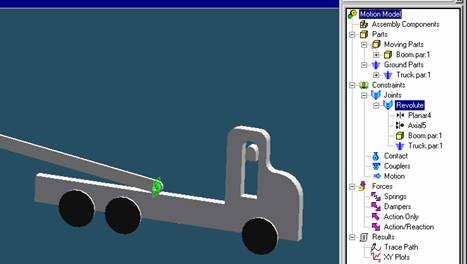
Check joints
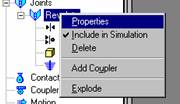
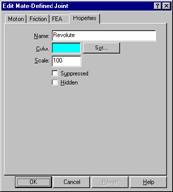
Here we need a revolute joint between the boom and the truck, which is already created by Dynamic Designer. The joint is green in color by default. You can change the display color & size of the joint by right clicking on ‘Revolute’ and then click on properties as shown below:

Step 4
Apply Torque on the rotor part
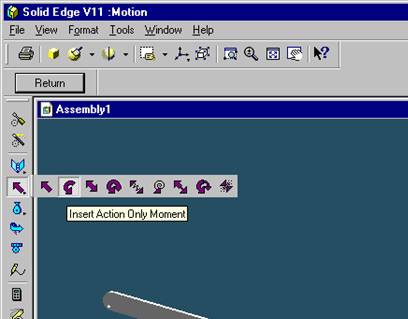
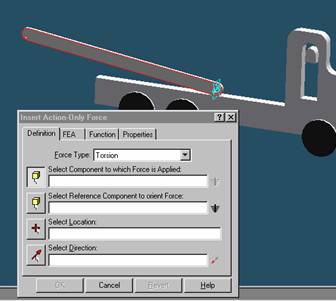
Click
on the Insert Action Only Moment button (Keep the left mouse button pressed on
the Insert Action Only Force icon ![]() to
view the complete list of options and then select the Insert Action Only Moment
icon
to
view the complete list of options and then select the Insert Action Only Moment
icon ![]() ).
).
.
Step 5
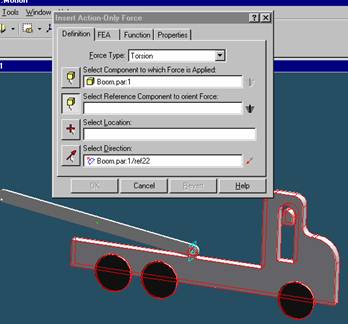
Select Component to which force is applied
Click on the boom part.
Step 6
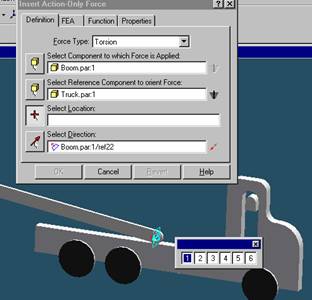
Select Reference Component to orient Force
Click on the truck.
Step 7
Select joint location
Click on the hole on the boom (the hole where the joint’s located).
Step 8
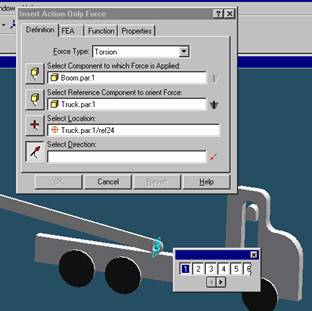
Select Torque Direction
Again click at the same location (The direction should be normal to the hole i.e. along its axis).
Step 9
![]()

![]()
![]()
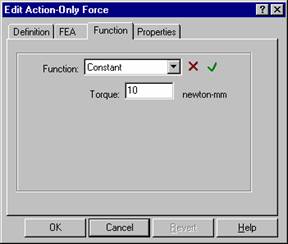
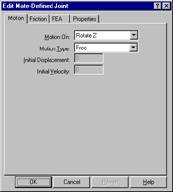
Click
on the ‘Function’ tab and change the Torque type and/or value (to whatever you
want to). Click on the check icon ![]() .
Then click on OK.
.
Then click on OK.
Step 10
![]()
![]()

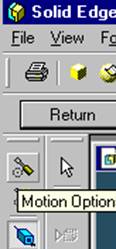
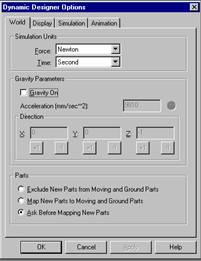
Ignore gravity
Click on ‘Motion Options’ and uncheck the ‘Gravity On’ box.
| Previous | Next |